We all know that turbine roof vents are highly versatile and functional. But, you might not be familiar with the problems caused by their faulty installation. So, today, we’ll guide you on nine turbine roof vent problems and discuss some solutions for better help!
Key Takeaways
- Turbine vents can leak, clog or rust with faulty installation or climatic conditions.
- These vents are noisy and need extra oiling and lubrication for smoother function.
- Turbine or Whirlybird vents operate on wind flow and direction. So, you might need a battery backup in dry climates.
- They have a lot of parts and might leak at the base or fan level. But, you can quickly repair it with our detailed guide and repairs section. So, read on to know all the common turbine vent problems and their quick solutions.
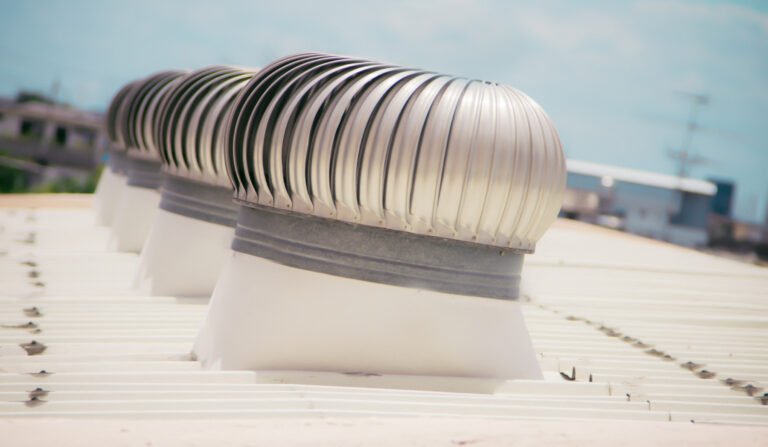
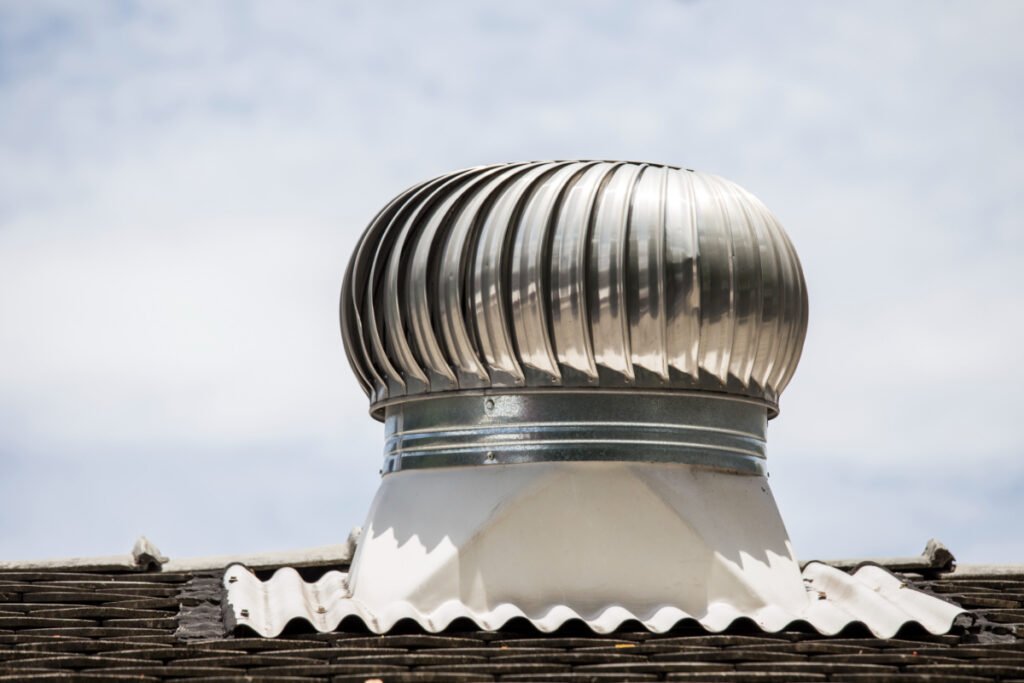
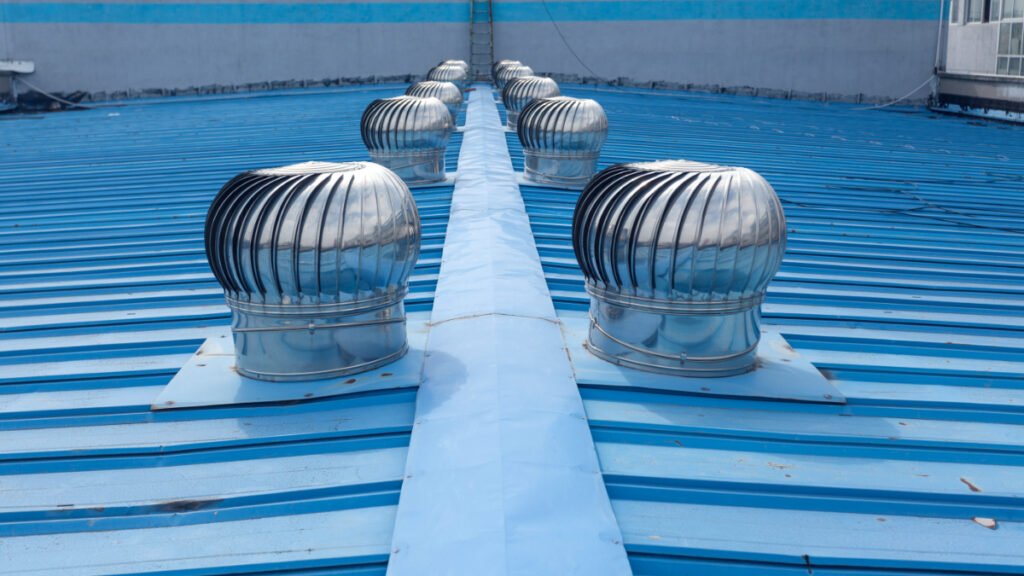
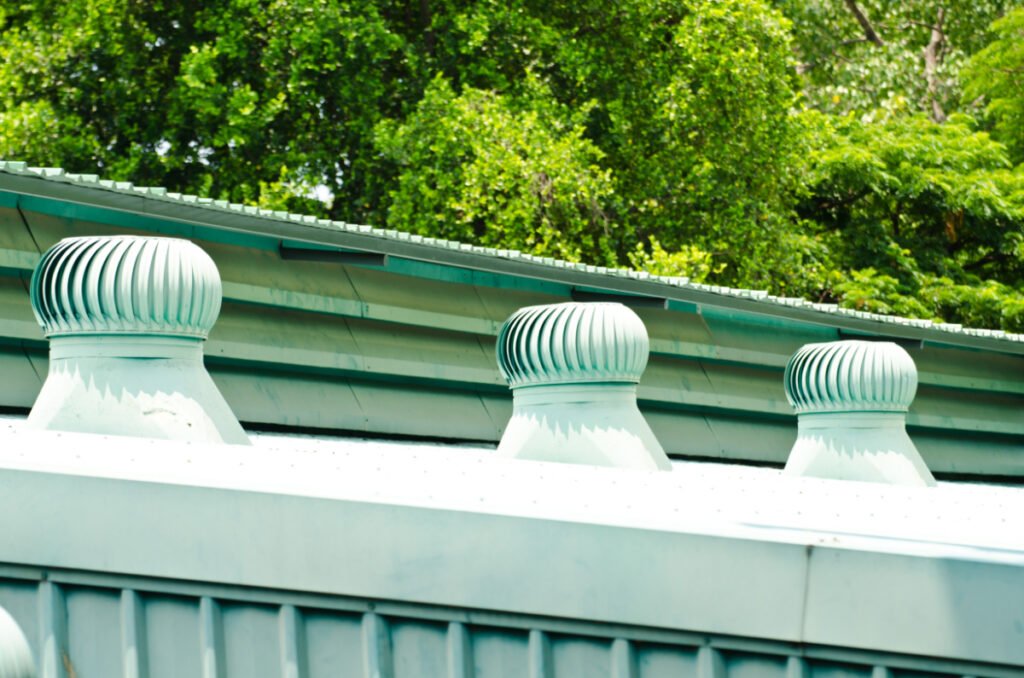
What Is a Turbine Vent & What Does It Do?
A turbine vent is a large, bulb-shaped blower installed on the roof’s apex. It has deep, circular openings and propeller fans that rotate with the wind and drive the exhaust out. Thus, its high exhaust speed creates a vacuum and forces cold air into the system.
Some Important Turbine Vent Benefits Are
- It reduces dampness and moisture and keeps the fungus away.
- Extremely flexible; Can work with both flat and pitched roofs.
- Wind-powered and low-energy use.
- High airflow and exhaust speed.
9 Common Turbine Vent Problems & Their Solutions
Turbine roof vents have a lot of mechanical parts and fixtures. So, you must have proper tools, screws, and caps to install them correctly. Any faulty installation may cause many problems as follows:
1. Varying Rotation Speed and Ventilation
Cause: Turbine vents work on wind velocity and do not have a fixed, controllable speed.
Turbine vents have large propeller fans that rotate with the wind and supply air to the attic. So, they turn faster and blow more air during storms or high winds. And they might even run continuously and hamper the temperature and humidity inside.
In contrast, these turbines might not be efficient in low-wind zones and can block the heat inside. Similarly, they might reduce the cross-ventilation and cause more dampness and fungal growth.
Solutions:
- Mount the turbine vents along the roof apex or the westward slopes for good airflow.
- Add a wind barrel or vent cap to slow down their fans during storms.
- Use AGM or Alkaline batteries to rotate the fan in low-wind areas.
- Add a vapor barrier to lower the speed and retain more heat in windy areas.
- Seal the gaps with fillers or roofing cement for better moisture control.
2. Easy Weathering & Rusting of the Vents
Cause: Turbine vents do not have a start and stop control and operate continuously.
Turbine vents weather easily due to constant use and exposure to weather conditions. And, they might chip, break, or even rust due to the sun. So, they might vibrate, create a lot of noise and ruin the surrounding shingles.
Solutions:
- Use enamel or antirust solutions to protect vents from corrosion and lubricate the turbines with grease or machine oil.
- Add a dehumidifier below the vent to keep it dry.
- Top it with insulation to absorb the noise and vibrations.
- Use a vent cap to reduce excess moisture absorption.
Check for any warped or discolored shingles around the vent and seal them immediately to reduce the water damage.
3. Vent Moisture & Leaking
Cause: Turbine vents have loose connections, wider gaps, or broken fasteners that might let in the rainwater.
Turbine vents need proper sealers, fasteners, and screws to reduce water damage. However, these screws rust due to rain, widen the shingle gaps and allow rain to percolate inside.
Similarly, extreme wind might displace the vent’s base and let in water. Or, it might bend the vent’s propeller blades, widen the gaps, and cause leaking.
Solutions:
- Use rust-proof nails and screws and tighten them to minimize the gaps.
- Add caulk around it and seal it with roofing cement for a water-tight joint.
- Coat the blades with oil, and then add a roof flashing for better moisture control.
- Use a strong metal or PVC cap to save the blades from bending.
Look for any peeling or blistering attic paint to check for moisture seepage and leaking.
4. Turbine Vent Clogging
Cause: Turbine vents clog due to debris, hail, snow, bird nests, or fallen twigs and branches.
Turbine vents can clog due to dirt on their blower fans or exhaust pipes. And clogged vents can easily backflow and divert the exhaust back to the attic. Plus, they might lower the airflow, raise the heat, and easily attract fungus. So, it might disrupt the insulation as well.
Solutions:
- Rinse the blades with a non-abrasive cleaner and dab lightly to remove the dust.
- Use a water hose and run water through the exhaust pipe to unclog it.
Use a smoke bomb and note its path to identify the clogged areas and fix them.
5. Always Visible
Roof vents have a large, dome-shaped structure that protrudes from the rooftops. So, it isn’t concealed and might overpower your roof design. And since it has a circular shape, it might break the look of rectangular multi-layered roofs and disturb the curb appeal.
Solutions:
- Install the turbine vents on the side slope and block it with a dormer roof at the front.
- Use the same colors for the roof and the vent but a textured finish for high curb appeal.
6. Noisy Turbine Vents
Cause: Lesser lubrication, rusting, or weathered parts increase the friction and lead to noisy turbines with time.
Non-lubricated or corroded turbine vents rotate the fans at a slower speed. So, the blades aren’t able to rotate freely and might get jammed in one place. This puts more pressure on the vent’s center, increases friction, and causes noise and vibrations.
And the noise is not only unpleasant to hear but might even crack the shingles and skylights.
Solutions:
- Lubricate the vents with grease, oil, or lithium sprays, and add a ball bearing for smoother function.
- Use a spirit level and check the vent’s alignment to reduce friction.
- Add sufficient foam insulation to absorb sound and vibrations.
7. Ice caps and Waterpooling
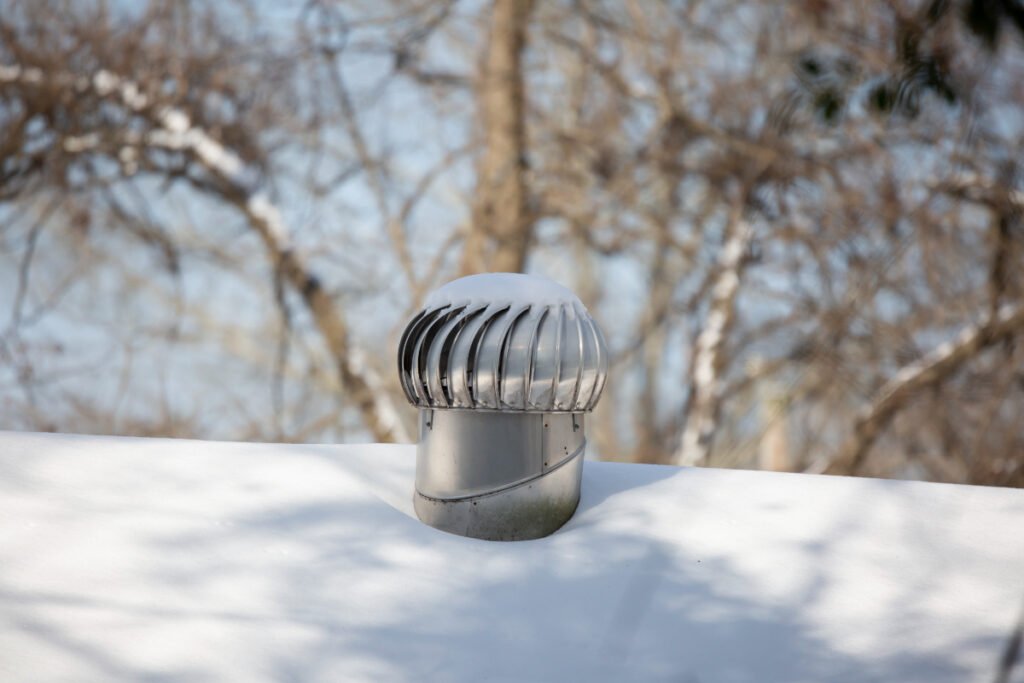
Cause: The flat and large bases of turbine vents block the rain and snow and cause pooling at the edges.
Large turbine vents retain water along the roof line. So, it might freeze in winter, lead to icecaps along the edges and overburden the entire roofing system.
Moreover, these caps might freeze the vent’s blades and increase humidity.
Solutions:
- Add an external baffle or vapor barrier to melt the snow and reduce ice caps along the roofline.
- Place some foam insulation under the vent for more water resistance.
- Install chimney or valley flashing under the vent’s base to drain the rainwater quickly.
8. High Initial Cost
Turbine vents are costly and need about $1500 – 2000 for the complete installation. Moreover, you’ll need about $40 – 50 to break the shingles and install the vent and another $30 for labor. Lastly, its caps, sealants, and fasteners will cost you another $100 – 200.
Solutions:
- Combine a few turbine vents with static blowers or intake vents for high airflow on a budget.
9. Pests and Breeding
Cause: Turbine vents have a wider cover and a hollow central duct. So, rodents, birds, and insects can quickly enter their pipes and nest inside.
Turbine vents are hollow and serve as a great nesting spot for different birds and insects. However, these pests might clog the exhaust pipe and reduce the fan’s speed with time. Or, they might bring in worms and bacteria and damage the vent.
Solutions:
- Mount a 0.2mm steel mesh on the top of the vent and spray some vinegar or oil to repel the insects.
- Add a vent cap to cover it from the sides and paint it with termite-resistant epoxy paint for more protection.
Point your ear towards the exhaust pipe and check for any bird or insect sounds inside.
How to Repair a Turbine Vent Efficiently?
Turbine vents are easy to repair and need only $65-70 for the complete process. So, just arm yourself with gloves and ladders, and follow the instructions to fix it in no time.
Tools you’ll need:
- Markers and chalks
- Pry bar
- Flat-headed hammer
- Plumber’s snake
Materials you’ll need:
- Roof paints and Brushes
- Working Gloves
- Styrofoam insulation
- Vent Cap
Step 1: Set the ladder against the roof and check the wind direction with a feather. Mark a suitable position at the apex and draw a rough circle of about 20 inches.
Step 2: Pull out all the shingles from the surroundings with a prybar and hammer. Scrape out the sealant and flashing and replace all the rusted screws immediately.
Step 3: Use a flashlight and check for leaks or clogs within the exhaust pipe. Run a plumber’s snake to remove accumulated dust and rinse it with a high-pressure water jet.
Step 4: Paint all the rusted portions with a color of your choice, or powder coat the vent for more durability.
Step 5: Lastly, add a vent cap and some styrofoam or cellulose insulation for more weather control.
Tips to Enhance the Turbine Vent Performance
- Spray bleach, ammonia, or vinegar to kill the fungus and reduce the pests inside.
- Install the vents on the west-ward slopes for optimal airflow and high-speed circulation.
- Add sufficient foam or cellulose insulation to absorb the noise and vibrations without much damage.
- Add a battery backup to stop the vent and reduce its rotations during storms.
How Many Turbine Vents Do I Need?
You’ll need one turbine vent per 300 square feet of insulated attic space. But, you can use up to two turbine vents for the same area in uninsulated attics. You can check more vent calculations here.
Do Turbine Vents Leak?
Yes, turbine roof vents might leak due to bent blower blades, insufficient flashing, or wider gaps at their base. So, you must add some insulation and caulk to create a water-tight seal at the edges.
How Long Do Turbine Vents Last?
Turbine vents last for 15-20 years with proper maintenance and lubrication. But you can still install a battery backup and use them longer.
Turbine vents are high-speed, durable ventilators but might cause many problems due to wind, rain, and pests. So, it’s best to paint them for better weather control and use some sieves and insulation to save them from moisture and pests.
You can further boost their performance by mounting them on the right pitch and roof slope. But, what is the right place to install a turbine vent? So, jump to our Popular Roof Vent Questions guide and find all the answers!